
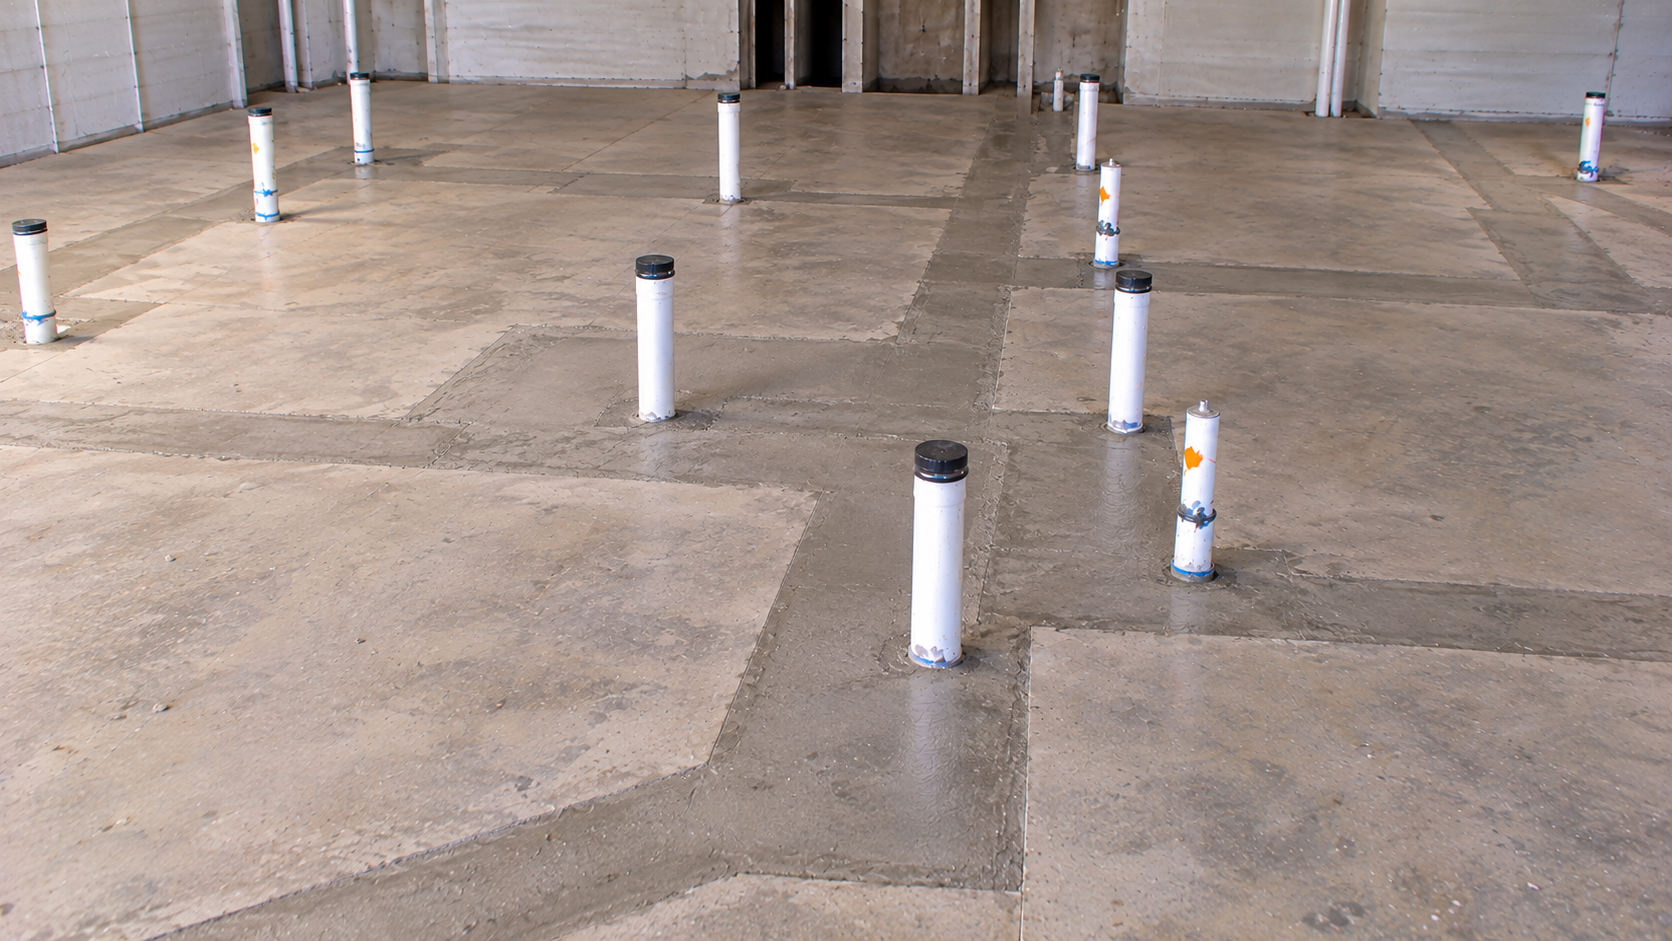
A Phoenix plumbing rough-in is the first real milestone of a commercial tenant improvement. Long before paint or furniture, plumbers are on their knees in the dirt below the slab, setting the drains everything else will depend on. From there, the pipe climbs into walls, ties into vents, and finally meets the fixtures customers see. This article follows that path stage by stage on a typical Phoenix build-out, so you know what to expect and when.
Each stage includes local tips drawn from Valley conditions, including caliche soil, summer heat, and mineral-heavy water.
Why Plumbing Leads the Way
First of all, gravity runs the drain system. Waste must flow downhill to the sewer, so every pipe needs the right pitch. To set that pitch, plumbers need the floor open and the walls bare. That is why their work shows up so early.
Underground trenches also hold up other crews. Framers cannot stand walls on open dirt, and flooring installers need a solid slab. Consequently, the Phoenix plumbing rough-in usually sits right on the critical path.
Stage 1: Reading the Site
To begin, the plumber studies the existing space. Where does the sewer leave the building, and how deep is it? Where does water come in? Are there old lines that need capping? A small camera pushed through the drains reveals cracks, sags, or roots.
With answers in hand, the crew snaps chalk lines on the slab to show each pipe route. Afterward, a scanning tech checks the concrete for steel, conduit, and tension cables.
Stage 2: Opening the Floor
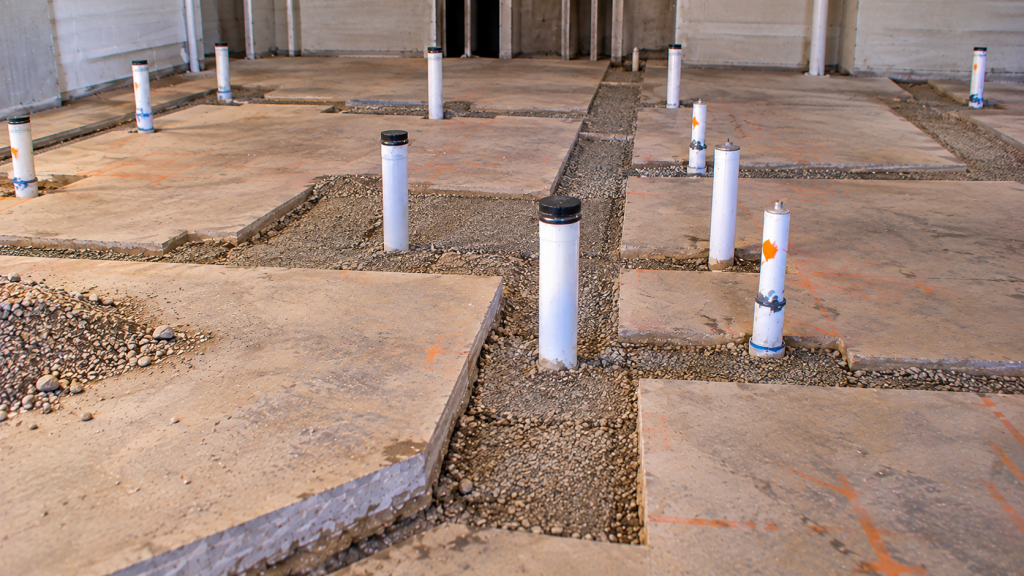
Once the slab is cleared, saws cut along the chalk lines. Workers lift out the concrete, haul it off, and start digging.
Here, Phoenix throws a curveball. Caliche, a rock-hard layer of natural cement, hides under many Valley sites. Breaking through it may need jackhammers or small excavators. For that reason, seasoned plumbers factor caliche into any Phoenix plumbing rough-in price.
Stage 3: Waste Lines in a Phoenix Plumbing Rough-In
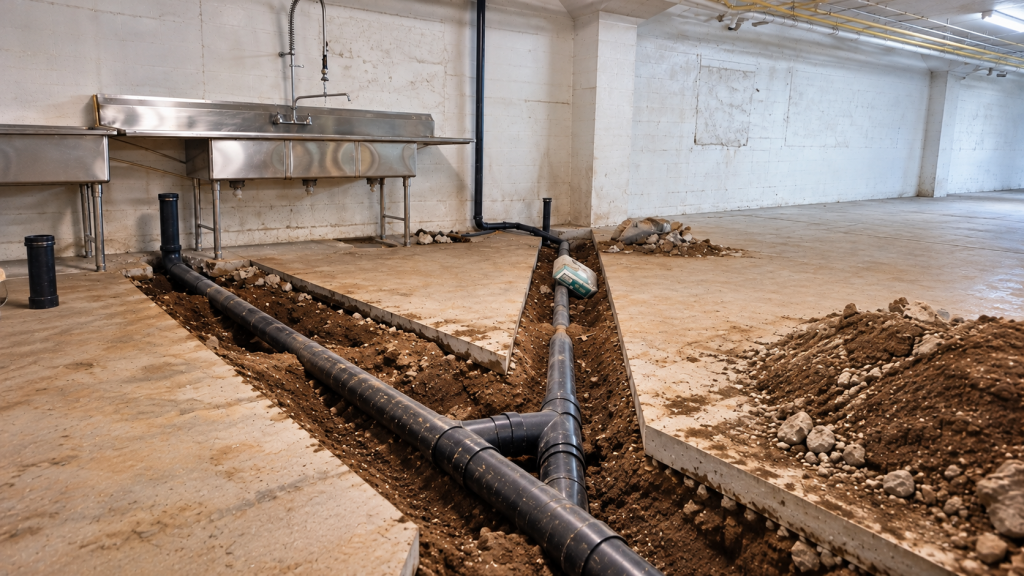
Next, the pipe goes in. Each waste line travels from a future fixture back to the sewer connection. Plumbers check pitch with a laser or level as they go, then add cleanouts at turns and at the end of long runs.
Plastic pipe is typical for tenant spaces. Even so, certain buildings and landlords insist on cast iron below grade. Confirm the material before the delivery truck arrives.
Stage 4: Proving the Underground
Before any dirt goes back, the drains must prove they are tight. Usually, the crew plugs the outlets and fills the lines with water. If the level stays put, the test passes.
After that, a city inspector stops by. Booking happens through the Planning and Development Department. Once the inspector approves, crews fill the trench in lifts, tamp it firm, and pour fresh concrete over the top.
Stage 5: Wall Work in the Phoenix Plumbing Rough-In
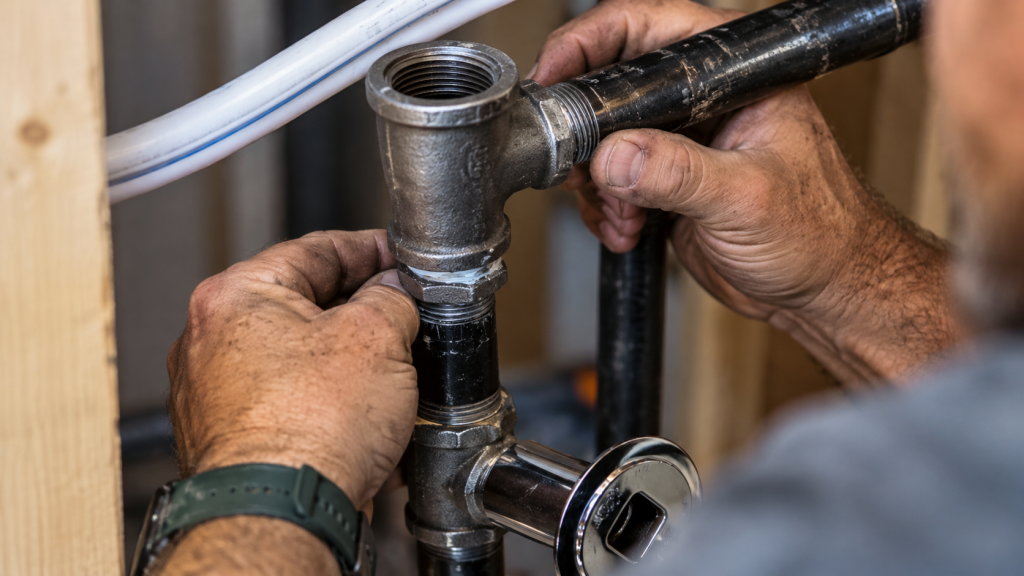
When the new slab cures and the studs go up, plumbers come back. This time they work vertically. Branch drains, vent pipes, and supply lines snake through each wet wall. Steel carriers go in for floating toilets, and wood backing goes in for grab bars.
Supply lines typically come from above and drop into the walls. Copper, PEX, and CPVC are all common here. Because Phoenix attics and ceiling spaces bake in summer, insulation on cold lines is a smart move.
Stage 6: Top-Out
Top-out wraps up the hidden work. Vents get tied to the stack or punched through the roof. Every outlet gets a cap. Then the whole system faces a pressure test, and the inspector returns.
When that inspection passes, drywall crews get the green light. In effect, the Phoenix plumbing rough-in is now complete.
Stage 7: Heaters and Equipment
As walls get taped and painted, plumbers set water heaters, mixing valves, and circulation pumps. They also hook up dishwashers, ice makers, and similar gear.
Mineral-heavy water is a fact of life in Phoenix. Scale shortens heater life and clogs equipment. Therefore, many owners add a softener or targeted filters at this stage.
Stage 8: Fixtures Go In
Finally, in the closing weeks, finished fixtures arrive. Plumbers mount lavatories, set toilets and urinals, and attach faucets and flush valves. Then they run water through each one to check for drips and good flow.
Order fixtures well ahead of time. Late deliveries rank among the top reasons openings slip. Also, measure accessible fixtures against code before they are fastened down.
Stage 9: Signing Off
Finally, the inspector walks the space one more time. Fixture types, heater relief valves, cleanout access, and accessible clearances all get checked. Backflow assemblies may need a certified tester’s report.
After approval, the plumber turns over manuals, warranty letters, and a marked-up set of drawings showing where every pipe really went.
Phoenix Plumbing Rough-In Checklist
- Scan concrete before cutting
- Budget for caliche
- Run saws at dawn in summer
- Shade plastic pipe and cement on site
- Wrap cold lines in hot ceilings
- Plan water treatment early
How Long Each Stage Lasts
Of course, every project differs. A modest office might finish its underground work in a few days, while a full-service restaurant could need several weeks. Wall rough-in and top-out tend to track right behind framing. Fixtures usually land in the final stretch.
Inspection wait times sit between each stage, so request them early during busy months.
Restaurant Steps in a Phoenix Plumbing Rough-In
Food service jobs add layers to a Phoenix plumbing rough-in. For example, the kitchen needs floor sinks under coolers and ice bins. Each one has to land at a precise elevation so the topping slab drains into it. Meanwhile, the grease interceptor may need a separate deep excavation outside or below the kitchen.
Gas lines also enter the picture. They feed ranges, fryers, and water heaters. Although gas runs overhead, it still needs testing and inspection before the ceiling closes. In short, restaurant rough-ins take more time, more coordination, and more inspections.
Common Phoenix Plumbing Rough-In Problems
- A sewer stub that sits too shallow for the far restroom
- Old drains that a camera shows are cracked
- Caliche that slows trenching
- Pipes that clash with ducts in tight ceilings
- Fixtures that arrive weeks late
Each of these can be managed with early planning. Above all, survey the site and order long-lead items as soon as you can.
Teamwork With the General Contractor
The plumber and the builder must stay in sync. A short weekly huddle helps them confirm which areas are open, which inspections are booked, and when fixtures will show up. To learn more, see our article on plumbing subcontractor coordination.
Photos and Records
Once concrete and drywall go up, the pipe disappears. So snap photos before each cover-up. Measure from fixed points like columns or exterior walls. Then note those numbers on the drawings. Years later, a plumber can find a line in minutes instead of guessing. It is a small habit that pays off again and again.
FAQ on the Phoenix Plumbing Rough-In
How many inspections come before drywall?
Typically two: one for the underground and one at top-out.
Does caliche raise the cost of a Phoenix plumbing rough-in?
Yes. Harder digging takes more labor and sometimes heavier equipment.
Plan Your Phoenix Build-Out
A smart start below the slab protects the whole schedule. Explore our rough-in services or get in touch about your Phoenix space.