
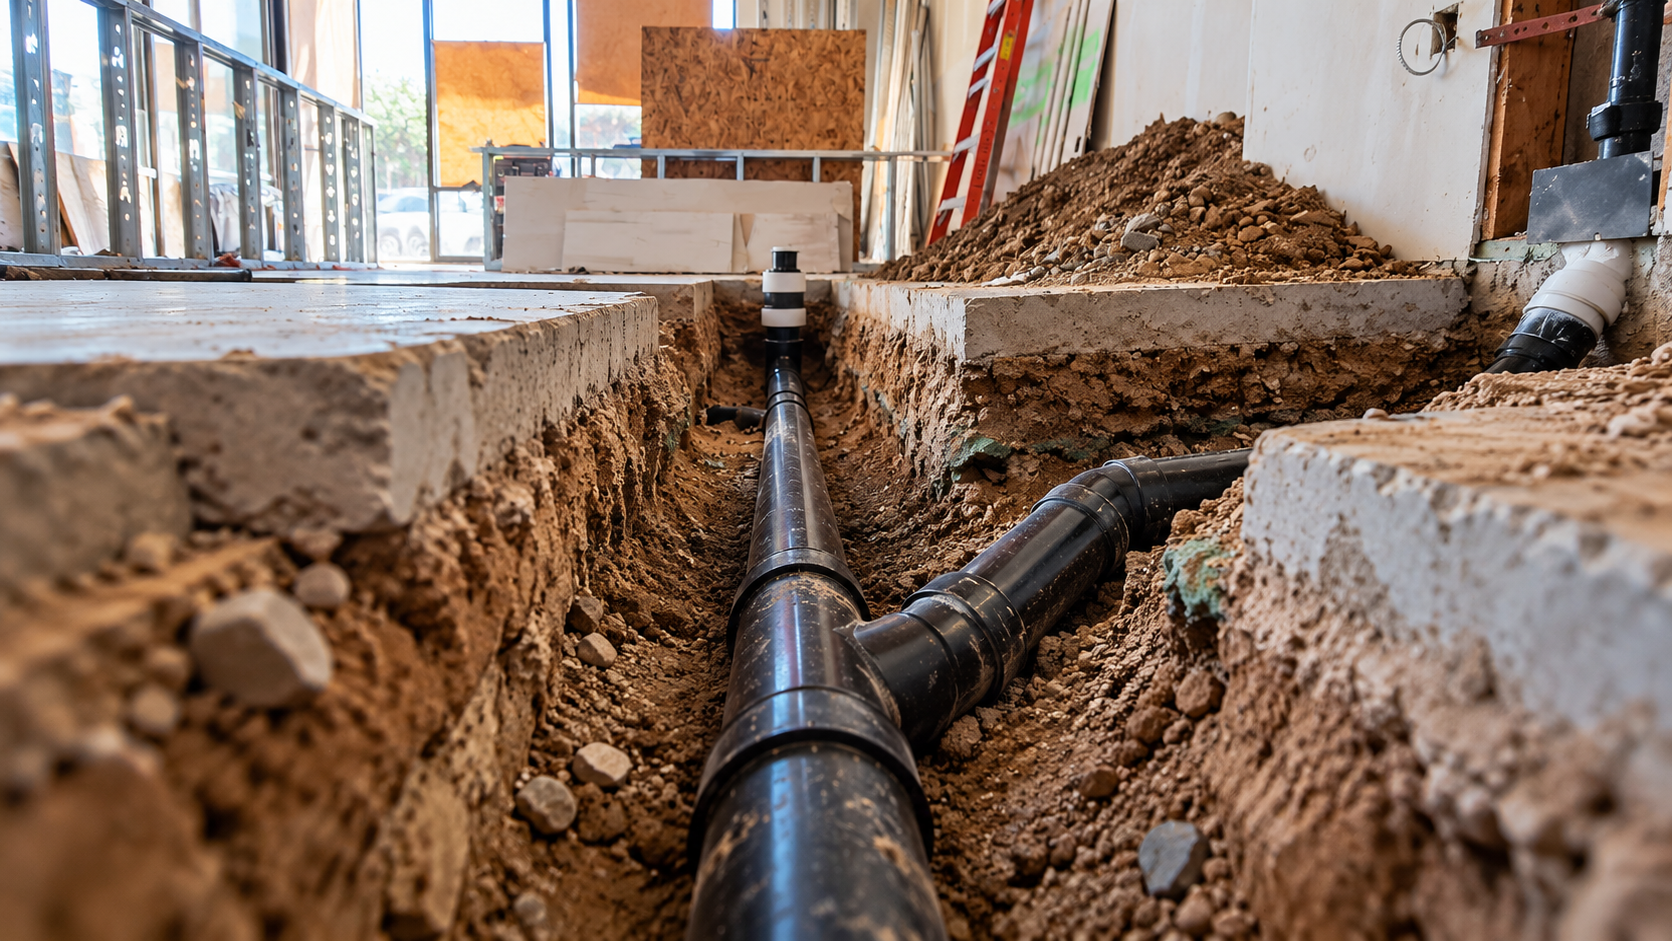
A commercial plumbing rough-in is the hidden backbone of every tenant improvement. Before walls go up or floors get finished, plumbers must cut the slab, lay drains, run water lines, and set vents. If this stage goes well, the rest of the build-out flows. If it goes badly, every trade waits. This guide explains each part of the rough-in for tenant improvements, from underground drainage to water lines and venting.
Owners, tenants, and general contractors can use it to understand what happens below the floor and inside the walls, and why it matters so much.
What a Commercial Plumbing Rough-In Covers
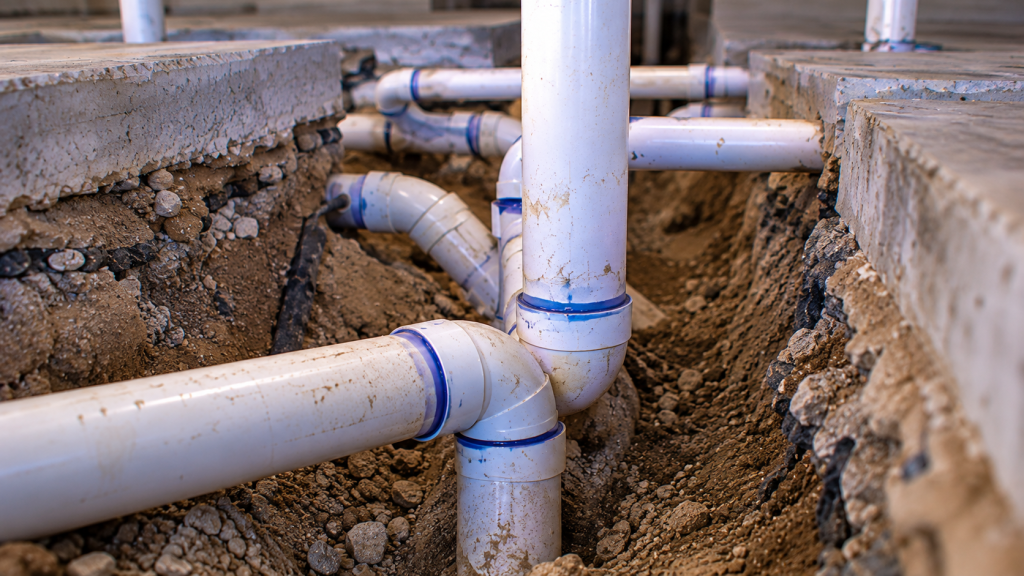
Rough-in is the stage where plumbers install pipe that will later be hidden. It usually happens in two parts. First comes the underground work below the slab. Then comes the in-wall and overhead work after framing.
Together, these parts include:
- Sanitary drains and waste lines
- Vent piping that lets drains flow freely
- Domestic hot and cold water lines
- Stub-outs for every fixture
- Carriers and blocking for wall-hung fixtures
- Floor drains, cleanouts, and trap primers
Fixtures and trim come later, during the finish stage.
Step 1: Layout and Slab Scanning
Before any cutting, the plumber marks drain routes on the slab. They follow the approved drawings and confirm the location of the existing sewer stub. Next, a technician scans the slab with ground-penetrating radar.
Scanning finds rebar, electrical conduit, and post-tension cables hidden in the concrete. Cutting a post-tension cable is dangerous and very expensive to fix. So this step is not optional on most commercial jobs.
Step 2: Saw-Cutting and Trenching
Then crews saw-cut the slab along the marked lines. They break out the concrete and haul it away. After that, they dig trenches to the depth needed for the pipe and its slope.
Trench depth depends on the distance to the sewer and the required fall. Longer runs need deeper trenches at the far end. This is why designers try to keep restrooms and kitchens close to the sewer connection.
Step 3: Underground Drainage
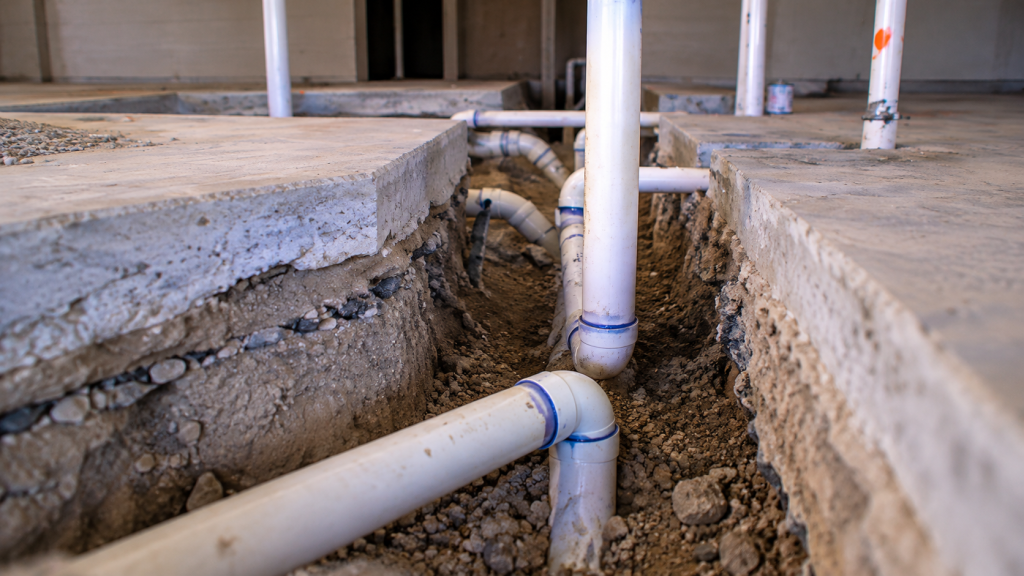
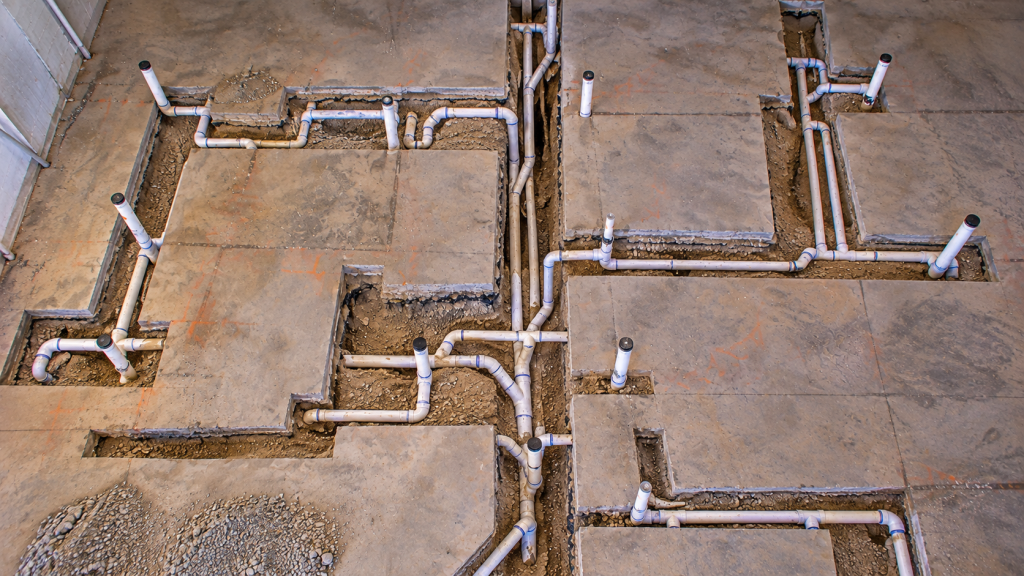
Underground drainage is the heart of a commercial plumbing rough-in. Plumbers lay waste piping from each fixture location back to the sewer stub. Most tenant improvements use PVC or ABS plastic pipe below grade, although some buildings require cast iron.
Slope is critical. Smaller drains typically need a fall of about a quarter inch per foot. Larger drains may use less. The plumber checks each section with a level or laser before moving on.
Cleanouts also go in at this stage. They give future plumbers access to clear clogs. Codes set where cleanouts must go, such as at changes in direction and at the base of stacks.
Step 4: Underground Testing and Inspection
Before backfill, the system must be tested. A common method fills the drain system with water and holds it for a set time. If the water level drops, there is a leak to find and fix.
Next, the city inspector checks the pipe size, slope, materials, and test. Once the inspection passes, crews backfill the trench in layers, compact the soil, and pour new concrete. Our post on how rough-in sets the pace explains why this step drives the schedule.
Step 5: Venting
In any commercial plumbing rough-in, every drain needs a vent. Vents let air into the system so water flows smoothly and traps keep their seal. Without good venting, drains gurgle, slow down, or pull water out of traps, which lets sewer gas into the room.
In tenant improvements, vents usually rise inside walls and connect to an existing vent stack or go through the roof. Some codes allow air admittance valves in certain spots. However, local rules vary, so check with your plumber and inspector.
Step 6: Water Lines in a Commercial Plumbing Rough-In
Water lines bring hot and cold water to each fixture. In a commercial plumbing rough-in, plumbers usually run these lines overhead and drop them into walls. Common materials include copper, PEX, and CPVC.
The plumber sizes each line based on the number and type of fixtures it serves. They also install shutoff valves so sections can be isolated for repairs. Water hammer arrestors may go in near quick-closing valves, such as flush valves and dishwashers.
Hot water lines often get insulation to save energy and keep water hot longer. Long runs may also need a recirculation loop.
Step 7: In-Wall Rough-In
After framing, plumbers return to run drain arms, vents, and water lines inside the walls. They set carriers for wall-hung toilets and lavatories. They also add blocking for grab bars and fixtures.
Every pipe must stay within the wall cavity and avoid other trades. Coordination with electricians and HVAC installers prevents clashes. Then the system gets a pressure test and an inspection before drywall goes up.
Common Commercial Plumbing Rough-In Mistakes
- Cutting the slab without scanning first
- Wrong slope on long drain runs
- Missing cleanouts at required locations
- Vents that do not tie in correctly
- Stub-outs at the wrong height for accessible fixtures
- Skipping a test before calling inspection
Each mistake can mean reopening the floor or walls. That costs time and money for everyone.
How Long Does a Commercial Plumbing Rough-In Take?
For a basic office suite, underground work can wrap up in under a week. A restaurant with many floor drains and a grease interceptor may need weeks. Inspection timing and concrete curing also affect the schedule.
Special Drains and Equipment
Many tenants need more than sinks and toilets. Restaurants need floor sinks under equipment and a grease interceptor. Gyms need shower drains. Mechanical rooms need floor drains for water heaters and air handlers.
Each of these goes in during rough-in. For example, a floor sink must sit at the right height so the finished floor slopes toward it. A trap primer may be needed to keep floor drain traps from drying out. Meanwhile, condensate drains from HVAC units need a safe place to discharge.
Plan these items with the equipment supplier and the engineer. Then mark them clearly on the slab before cutting.
Documenting the Rough-In
Once the floor is poured, the pipe disappears for good. So take photos before backfill. Measure key points from fixed walls or columns. Then mark them on an as-built drawing.
These records help future plumbers find lines without guessing. They also help the next tenant plan their own layout. It takes little time and saves a lot later.
Working Around Tenants Next Door
Rough-in often happens next to open businesses. Saw-cutting is loud and dusty. So crews use water to control dust and plan cuts for quiet hours. They also seal off the work area with plastic walls and keep shared halls clean.
Tie-ins to shared lines need care as well. A short shutdown may be needed when the new drain joins the building sewer. Give neighbors notice, and pick a time that causes the least trouble.
Choosing a Rough-In Contractor
Look for a plumber with strong tenant improvement experience. Ask how they handle slab scanning, existing sewer surprises, and testing. Also, check references from general contractors. Learn more on our rough-in plumbing contractor page.
FAQ on Commercial Plumbing Rough-In
Can a commercial plumbing rough-in start before the permit?
Usually not. Most cities require an approved permit before any work below the slab begins.
What pipe is used underground?
PVC or ABS is common in tenant improvements, although some buildings and codes call for cast iron. The model codes list approved materials.
Get Your Rough-In Right the First Time
A careful rough-in protects your schedule and your finished space. To plan the underground and in-wall work for your build-out, contact our team today.