
New construction plumbing rough-in starts long before the building rises. On a ground-up commercial project, plumbers begin at the property line, bringing water and sewer service onto the site. Then they lay underground drains ahead of the slab pour, stand risers as floors go up, run branch lines through each level, and finally connect fixtures and equipment. This guide follows that path from underground utilities to final connections, so owners and builders know what to expect at each stage.
It focuses on commercial buildings such as offices, retail, mixed-use, and light industrial projects.
How New Construction Differs From Tenant Work
In a tenant improvement, the plumber works inside an existing building. They cut slabs, tie into old lines, and work around neighbors. In new construction, by contrast, they build every system from scratch. There are fewer surprises underground, yet the scope is much larger and the schedule runs longer.
New construction plumbing rough-in also requires tight coordination with site work, concrete, steel, and framing crews. Each stage of the building opens a short window for plumbing work.
Stage 1: Site Utilities
The first plumbing work happens outside the building footprint. Typically, it includes:
- A water service from the city main, with a meter and backflow preventer
- A fire service line, often installed by a separate contractor
- A sanitary sewer lateral to the city sewer
- Storm drains that carry roof and site water away
- Gas service, when the building uses gas
These lines often need permits from the water and sewer utilities as well as the building department. In addition, they require careful coordination with site grading, paving, and other underground trades.
Stage 2: Underground Rough-In
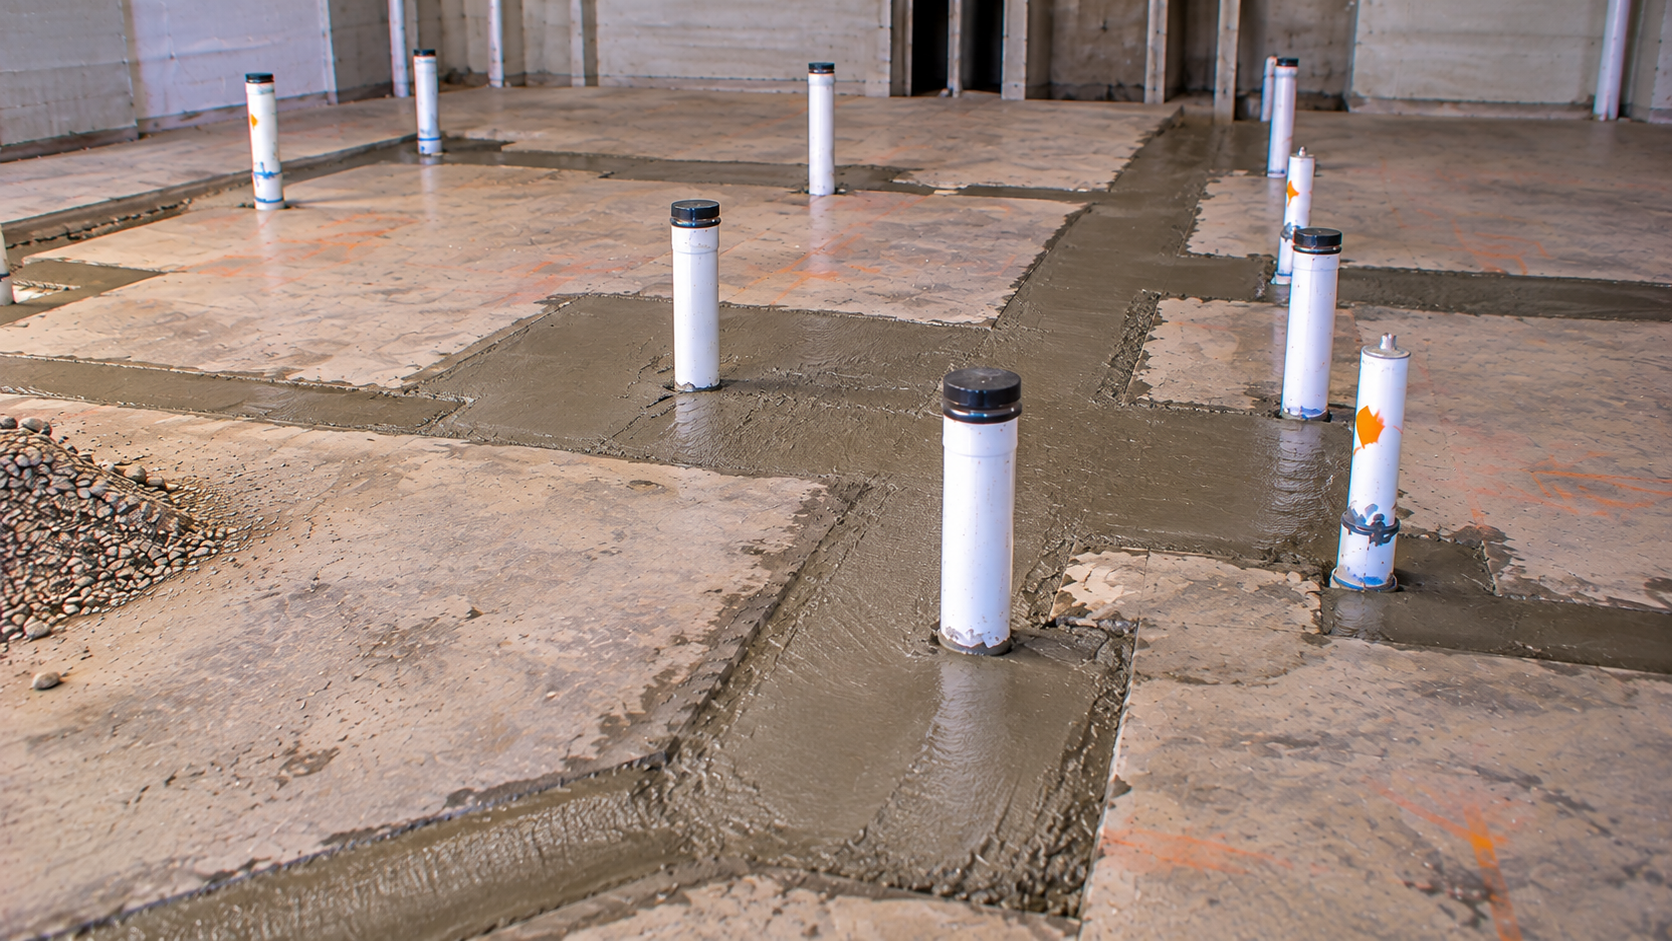
Ahead of the concrete pour, plumbers install all drains that will sit below the slab. They follow the drawings to place waste lines, vents, floor drains, and cleanouts. Every pipe must slope correctly toward the sewer lateral.
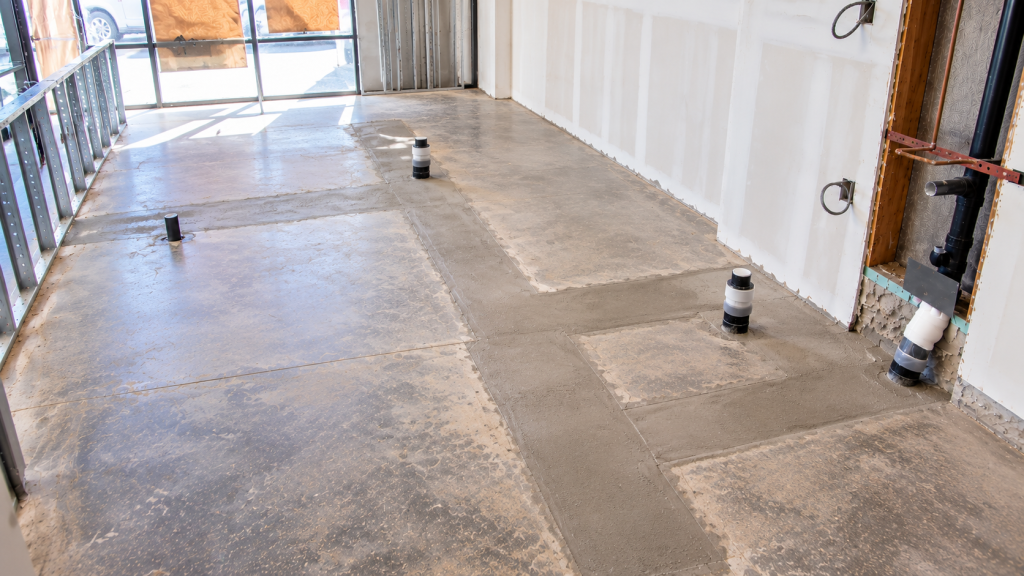
Because the slab is not yet in place, this work is faster than in a tenant space. There is no saw-cutting, and trenches are easier to dig. However, everything must be exactly right. Once the concrete goes down, moving a drain means cutting it back up.
Plumbers also install sleeves for pipes that will pass through the slab later. These openings save time and avoid core drilling.
Stage 3: Testing and Inspection Below the Slab
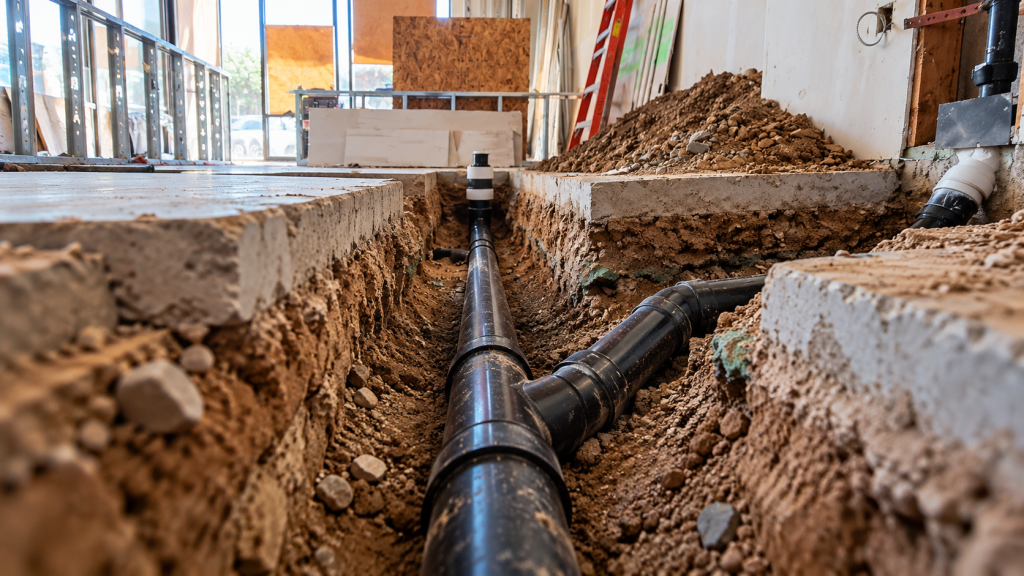
Next, plumbers test the underground system. Commonly, plumbers fill the drains with water and check that the level holds. Then the inspector reviews pipe sizes, slopes, materials, and the test.
After approval, crews backfill and compact the trenches. Then the concrete crew installs vapor barriers, reinforcement, and the slab itself. Plumbers should be on hand during the pour to protect stub-ups from damage.
Working With the Concrete Crew
The slab pour is a big day on any site. For the plumber, it is also a high-risk day. Concrete trucks, pumps, and finishers move fast. Stub-ups can get knocked over or filled with concrete. So the plumber should walk the deck before the pour and cap every opening. During the pour, a plumber on site can fix any damage right away.
After the pour, check every stub again. A crushed pipe found now can still be fixed with a small chip-out. Found later, it may mean breaking up finished floor. In short, a little attention on pour day saves a lot of trouble.
Stage 4: Risers and Mains
As the structure rises, plumbers install vertical risers for water, waste, and vents. These risers connect each floor to the underground system and the roof. In multi-story buildings, they often run in dedicated shafts.
Horizontal mains branch off the risers on each level. They feed restrooms, break rooms, and future tenant spaces. In addition, roof drains and storm piping carry rainwater from the roof down to the site storm system.
Materials vary by building type. Cast iron is common for waste and vent risers in multi-story buildings because it is quiet and fire resistant. Copper or other approved materials serve water lines.
Stage 5: Branch Piping and Top-Out
Once framers finish the walls on each floor, plumbers run branch lines to every fixture. They install drain arms, vents, water lines, carriers, and blocking. This stage is often called top-out.
Each floor gets its own pressure tests and inspections. Then drywall can close on that level. On a large building, top-out may move floor by floor for months.
Stage 6: Equipment in a New Construction Plumbing Rough-In
New buildings often need central systems. These may include water heaters or boilers, booster pumps for upper floors, recirculation pumps, water treatment, and sump or sewage ejector pumps for basements.
Plumbers set and pipe this equipment in mechanical rooms. They also coordinate power and controls with the electrical and HVAC trades.
Stage 7: Tenant Stub-Outs
Many commercial buildings are built as shells for future tenants. In that case, the new construction plumbing rough-in includes stub-outs for each tenant space. Typically, these are a capped sewer connection, a water line, and a vent.
Placing these stubs wisely helps future tenants. For example, locating sewer stubs near likely restroom areas saves future trenching. Clear labels and as-built drawings also help.
Stage 8: Fixtures and Final Connections
Near the end, plumbers set fixtures in core restrooms and common areas. They connect water heaters, pumps, and equipment. Then they test each fixture for proper flow and drainage.
Final inspections confirm that everything matches the plans. Backflow devices get tested by a certified tester. At handover, the owner receives O&M binders, warranty letters, and redlined drawings.
Planning for Future Tenants
Shell buildings leave the details to future tenants. Still, smart choices now make those build-outs easier. For instance, run sewer stubs a little deeper so long future drains can still reach them. Size water services with room to grow. Add vent connections near each likely restroom zone. These small steps cost little during new construction, yet they save tenants real money later.
Coordination Tips for New Construction Plumbing Rough-In
- Review sleeves and penetrations before every concrete pour.
- Protect stub-ups during slab placement.
- Coordinate riser shafts with structural and HVAC trades.
- Plan roof drain locations with the roofer and structural engineer.
- Track inspections floor by floor.
- Photograph all piping before walls and ceilings close.
New Construction Plumbing Rough-In Mistakes
Mistakes in new construction tend to be costly because they get buried. Examples include missed sleeves, wrong drain locations, damaged stub-ups after the pour, and risers that clash with beams. Most of these can be avoided with careful layout and a quick check before each pour.
How Long a New Construction Plumbing Rough-In Takes
Timing depends on building size and height. A single-story shell may need only a few weeks of underground plumbing. A mid-rise office may have plumbing work running for many months, moving floor by floor with the structure.
FAQ on New Construction Plumbing Rough-In
When does new construction plumbing rough-in start?
Usually during site work, before the concrete crew arrives.
Is new construction plumbing rough-in faster than tenant work?
Per foot of pipe, often yes, because there is no slab to cut. However, the total scope is much larger.
Partner on Your Next Build
Careful planning below grade sets up every floor above. To learn how a tenant build-out compares, read our post on tenant finish vs new construction. You can also visit our subcontractor services page or invite us to bid. The AGC also shares useful construction resources.