
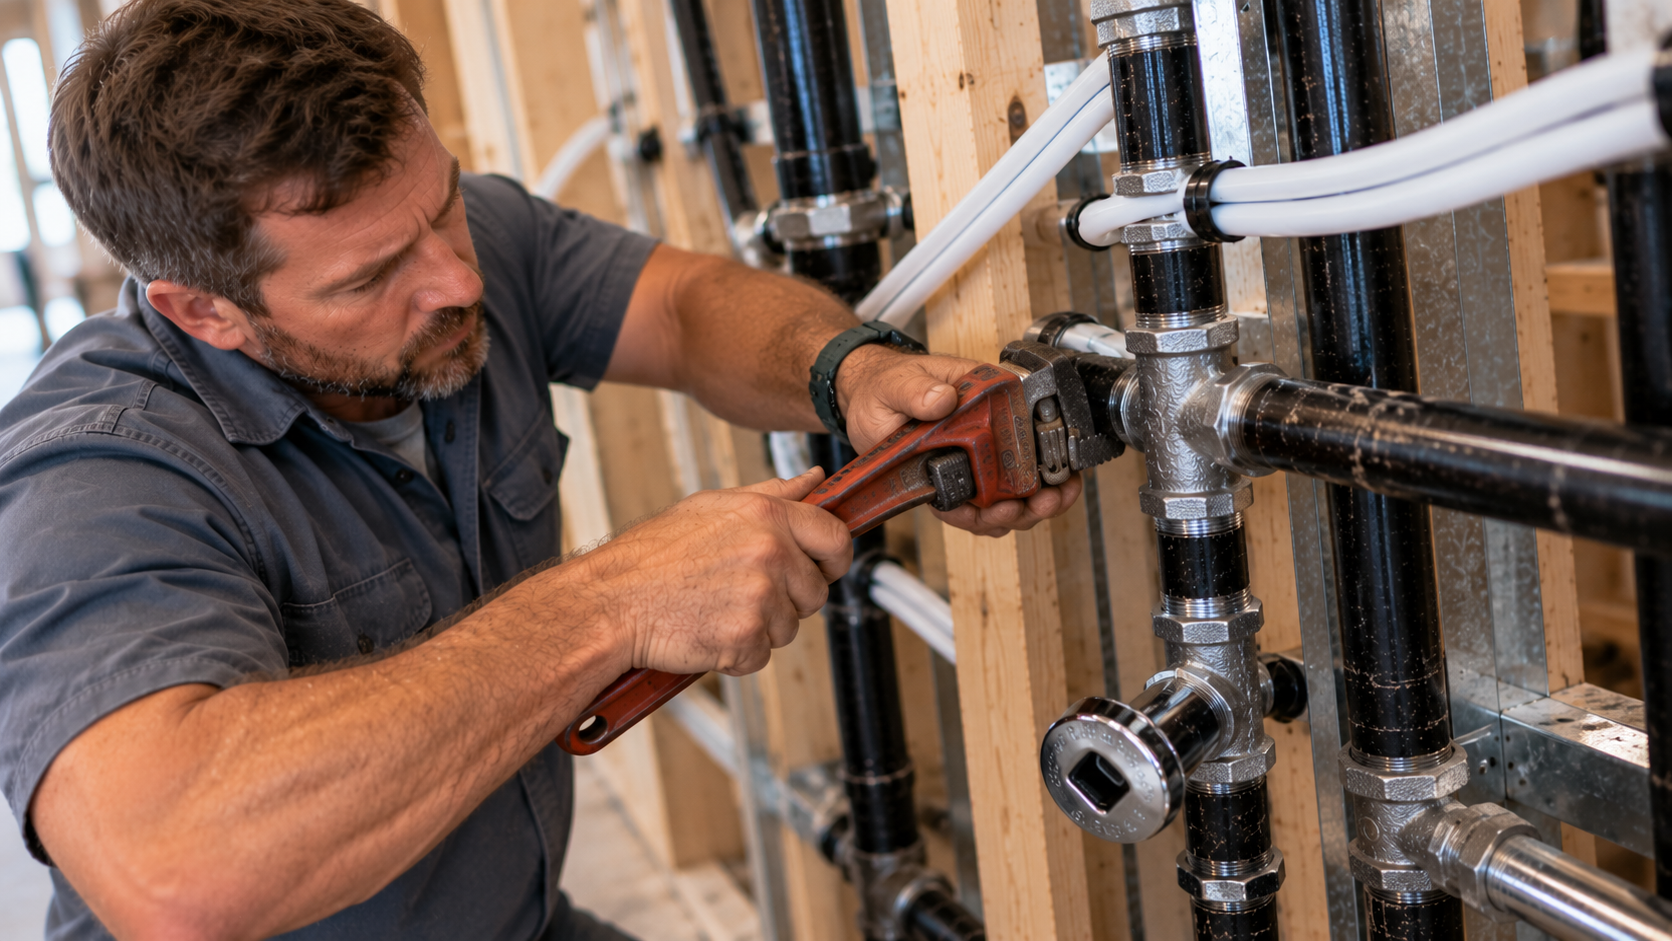
An ADA commercial restroom must work for people of all abilities. That goal shapes where every toilet, sink, grab bar, and pipe goes. For plumbers and builders, the details are precise: heights measured to the inch, clear floor spaces, and protected pipes under sinks. Miss one, and the restroom may fail inspection or, worse, fail the people who use it. This guide covers the plumbing fixtures, clearances, and installation tips that help a restroom pass the first time.
The numbers below follow the 2010 ADA Standards for Accessible Design. Local codes may add stricter rules, so always confirm with your designer and inspector.
Why ADA Rules Matter for Plumbing
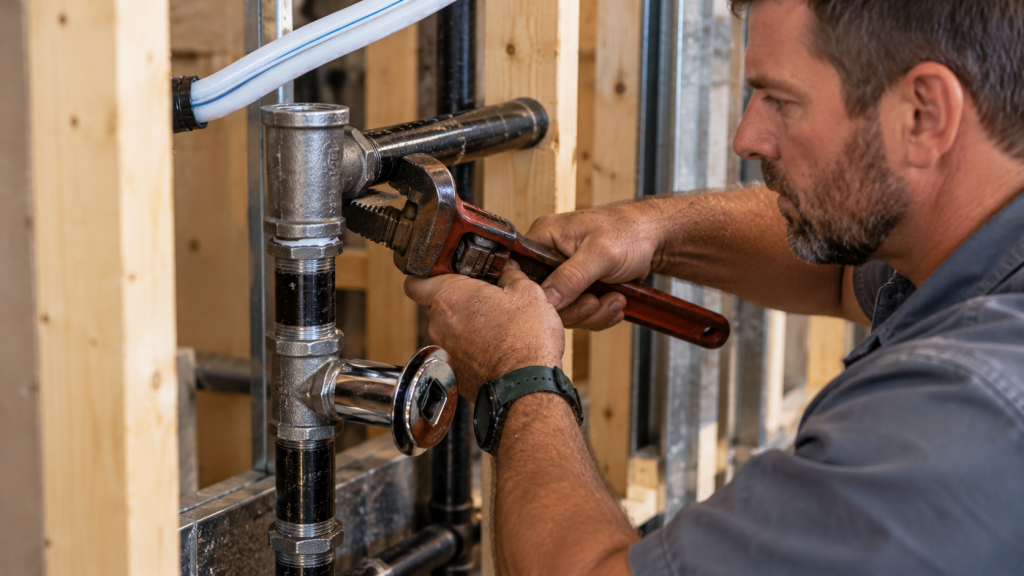
Accessibility often gets treated as an architect’s job. Yet many key requirements depend on the plumber. Drain and supply heights decide whether a wheelchair user can reach a sink. Carrier placement decides whether a toilet lands at the right spot. Pipe protection under lavatories prevents burns and cuts.
In other words, an ADA commercial restroom starts with good plumbing rough-in. Fixing a misplaced stub after tile costs far more than placing it right the first time.
Turning Space and Clear Floor Area
Every ADA commercial restroom needs room to move. A common requirement is a 60-inch turning circle, or an approved T-shaped turning space. Each fixture also needs its own clear floor space so a wheelchair can approach it.
Plumbing affects these spaces indirectly. Floor drains, pipe chases, and wall thickness all change the usable area. So plumbers and designers should confirm wall locations before rough-in.
ADA Commercial Restroom Toilet Rules
The toilet in an ADA commercial restroom has several key dimensions:
- Its centerline sits 16 to 18 inches from the side wall.
- Seat height falls between 17 and 19 inches above the floor.
- The flush control sits on the open side of the toilet.
- A side grab bar at least 42 inches long goes on the near wall.
- A rear grab bar at least 36 inches long goes behind the toilet.
- Grab bars mount 33 to 36 inches above the floor.
For plumbers, the centerline is critical. The drain and carrier must land in exactly the right spot. Measure from the finished wall, not the stud, since tile and backer board add thickness.
ADA Commercial Restroom Sink Rules
In an ADA commercial restroom, sinks need knee and toe space underneath. Key rules include:
- The rim or counter surface sits no higher than 34 inches.
- Knee clearance of at least 27 inches high runs under the front.
- Faucets must be easy to operate with one hand, without tight grasping or twisting.
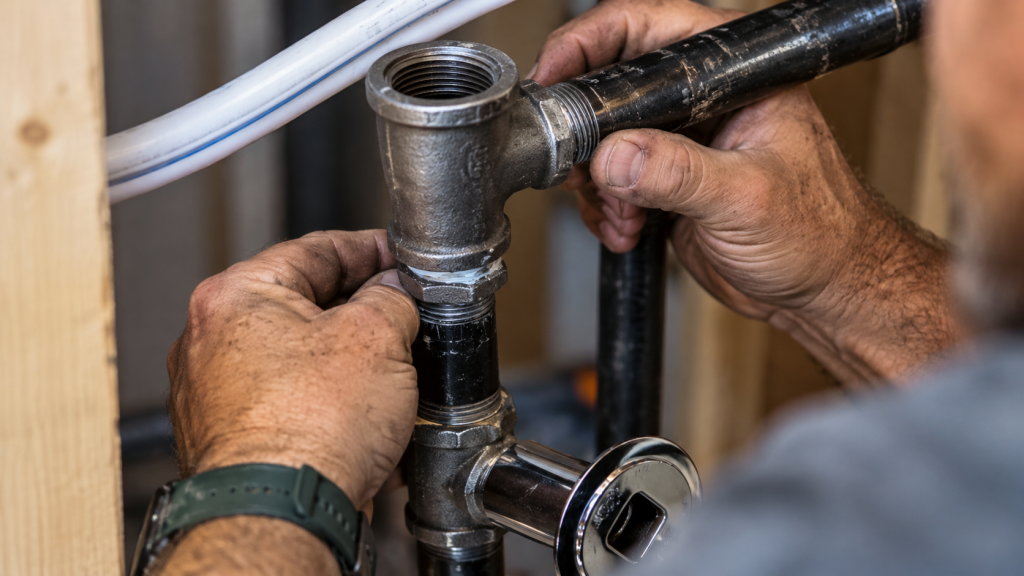
- Exposed hot water and drain pipes under the sink must be insulated or covered.
These rules shape the rough-in. Drains and supplies must sit low and tight to the wall so they do not block knee space. Offset tailpieces help. Pre-made pipe covers protect users from hot pipes and sharp edges.
Urinal Requirements
When urinals are provided, at least one must be accessible in many cases. An accessible urinal is either a stall type or a wall-hung type with the rim no higher than 17 inches above the floor. It also needs a clear floor space in front.
Again, rough-in height matters. Set the waste outlet and flush valve supply to match the chosen fixture so the rim lands at the right height.
Grab Bar Blocking
Importantly, grab bars must hold a lot of force. So they need solid backing inside the wall. Plumbers and framers must coordinate blocking before drywall. Missing blocking is one of the most common causes of failed inspections and costly rework.
In addition, grab bars cannot be blocked by flush valves or other fixtures. Plan the flush valve location so it does not interfere with the rear bar.
Accessible Showers and Other Fixtures
Some commercial spaces include showers, such as gyms and offices with bike commuters. Accessible showers have their own rules for size, seat, controls, and hand-held spray units. Drinking fountains, mop sinks, and break room sinks may also have accessibility requirements.
When these fixtures appear, review the standards early so the rough-in fits.
Doors, Hardware, and Signage
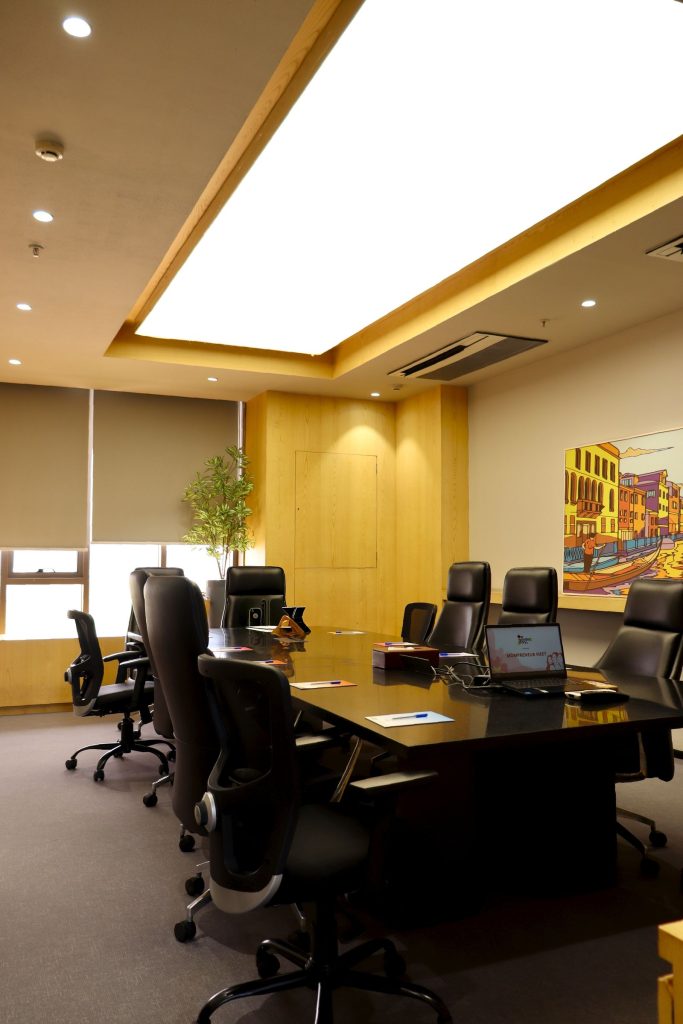
While doors and signs are not plumbing items, they affect the restroom layout. Doors must offer enough clear width and maneuvering space. Hardware must be easy to use. In single-user rooms, the door swing cannot block the clear space at fixtures. So check these items when locating fixtures.
Installation Tips for an ADA Commercial Restroom
- Confirm finished wall locations before setting carriers.
- Measure all heights from the finished floor.
- Use offset drains under lavatories to protect knee space.
- Coordinate grab bar blocking with framers.
- Place flush valves on the open side of toilets.
- Install pipe protection under every accessible sink.
- Check each fixture against the standards before trim.
Common ADA Commercial Restroom Mistakes
- Toilet centerline set too far from the side wall
- Lavatory rim mounted above 34 inches
- Exposed hot pipes under accessible sinks
- Flush valves on the wall side of the toilet
- Missing or weak grab bar backing
- Soap dispensers and dryers out of reach
Fixture Selection Tips
Picking the right fixtures makes compliance much easier. For toilets, choose models with the right bowl height so the seat lands in range. Sinks work best as wall-hung or shallow counter models that leave knee space. Faucets should use lever handles or sensors. Each choice removes a risk at inspection.
Accessories matter too. Soap dispensers, paper towel units, and hand dryers must sit within reach ranges. Mirrors must not hang too high. Although these are not plumbing items, the plumber often places them, so it pays to know the rules.
Working With Existing Restrooms
Older buildings often have restrooms that do not meet current standards. In some cases, small fixes help a lot. For example, swapping a faucet for a lever model, adding pipe covers, or moving a dispenser lower. In other cases, the room is too small. Then walls must move, and drains and supplies follow. An early survey shows which path you face, which helps set a fair budget for the ADA commercial restroom upgrade.
When Renovations Trigger Upgrades
Renovating an existing restroom often triggers accessibility upgrades. Even changes in other parts of a building can require improvements to the path of travel, including restrooms. Our post on what triggers a full ADA upgrade explains this in more detail.
Inspection Day Checklist
Before the final inspection, walk the room with a tape measure. Check the toilet centerline and seat height. Measure the sink rim and knee space. Confirm grab bar lengths and heights. Look under every sink for pipe covers. Finally, test the door and its hardware. Ten minutes with a tape can save a second inspection trip.
Where to Find the Rules
The full federal standards are available from the U.S. Department of Justice ADA site. Many states and cities add their own accessibility codes, so check local rules too.
FAQ on the ADA Commercial Restroom
Does every ADA commercial restroom need a rear grab bar?
Accessible toilet compartments generally need both side and rear grab bars, with limited exceptions.
Can a plumber fix a wrong toilet centerline after tile?
Sometimes, with an offset flange or new carrier. Yet it often means removing finishes, so get it right at rough-in.
Get Your Restroom Right the First Time
Accessible restrooms serve everyone and protect owners from costly corrections. Visit our restroom plumbing page, or ask for an accessibility plumbing review.