
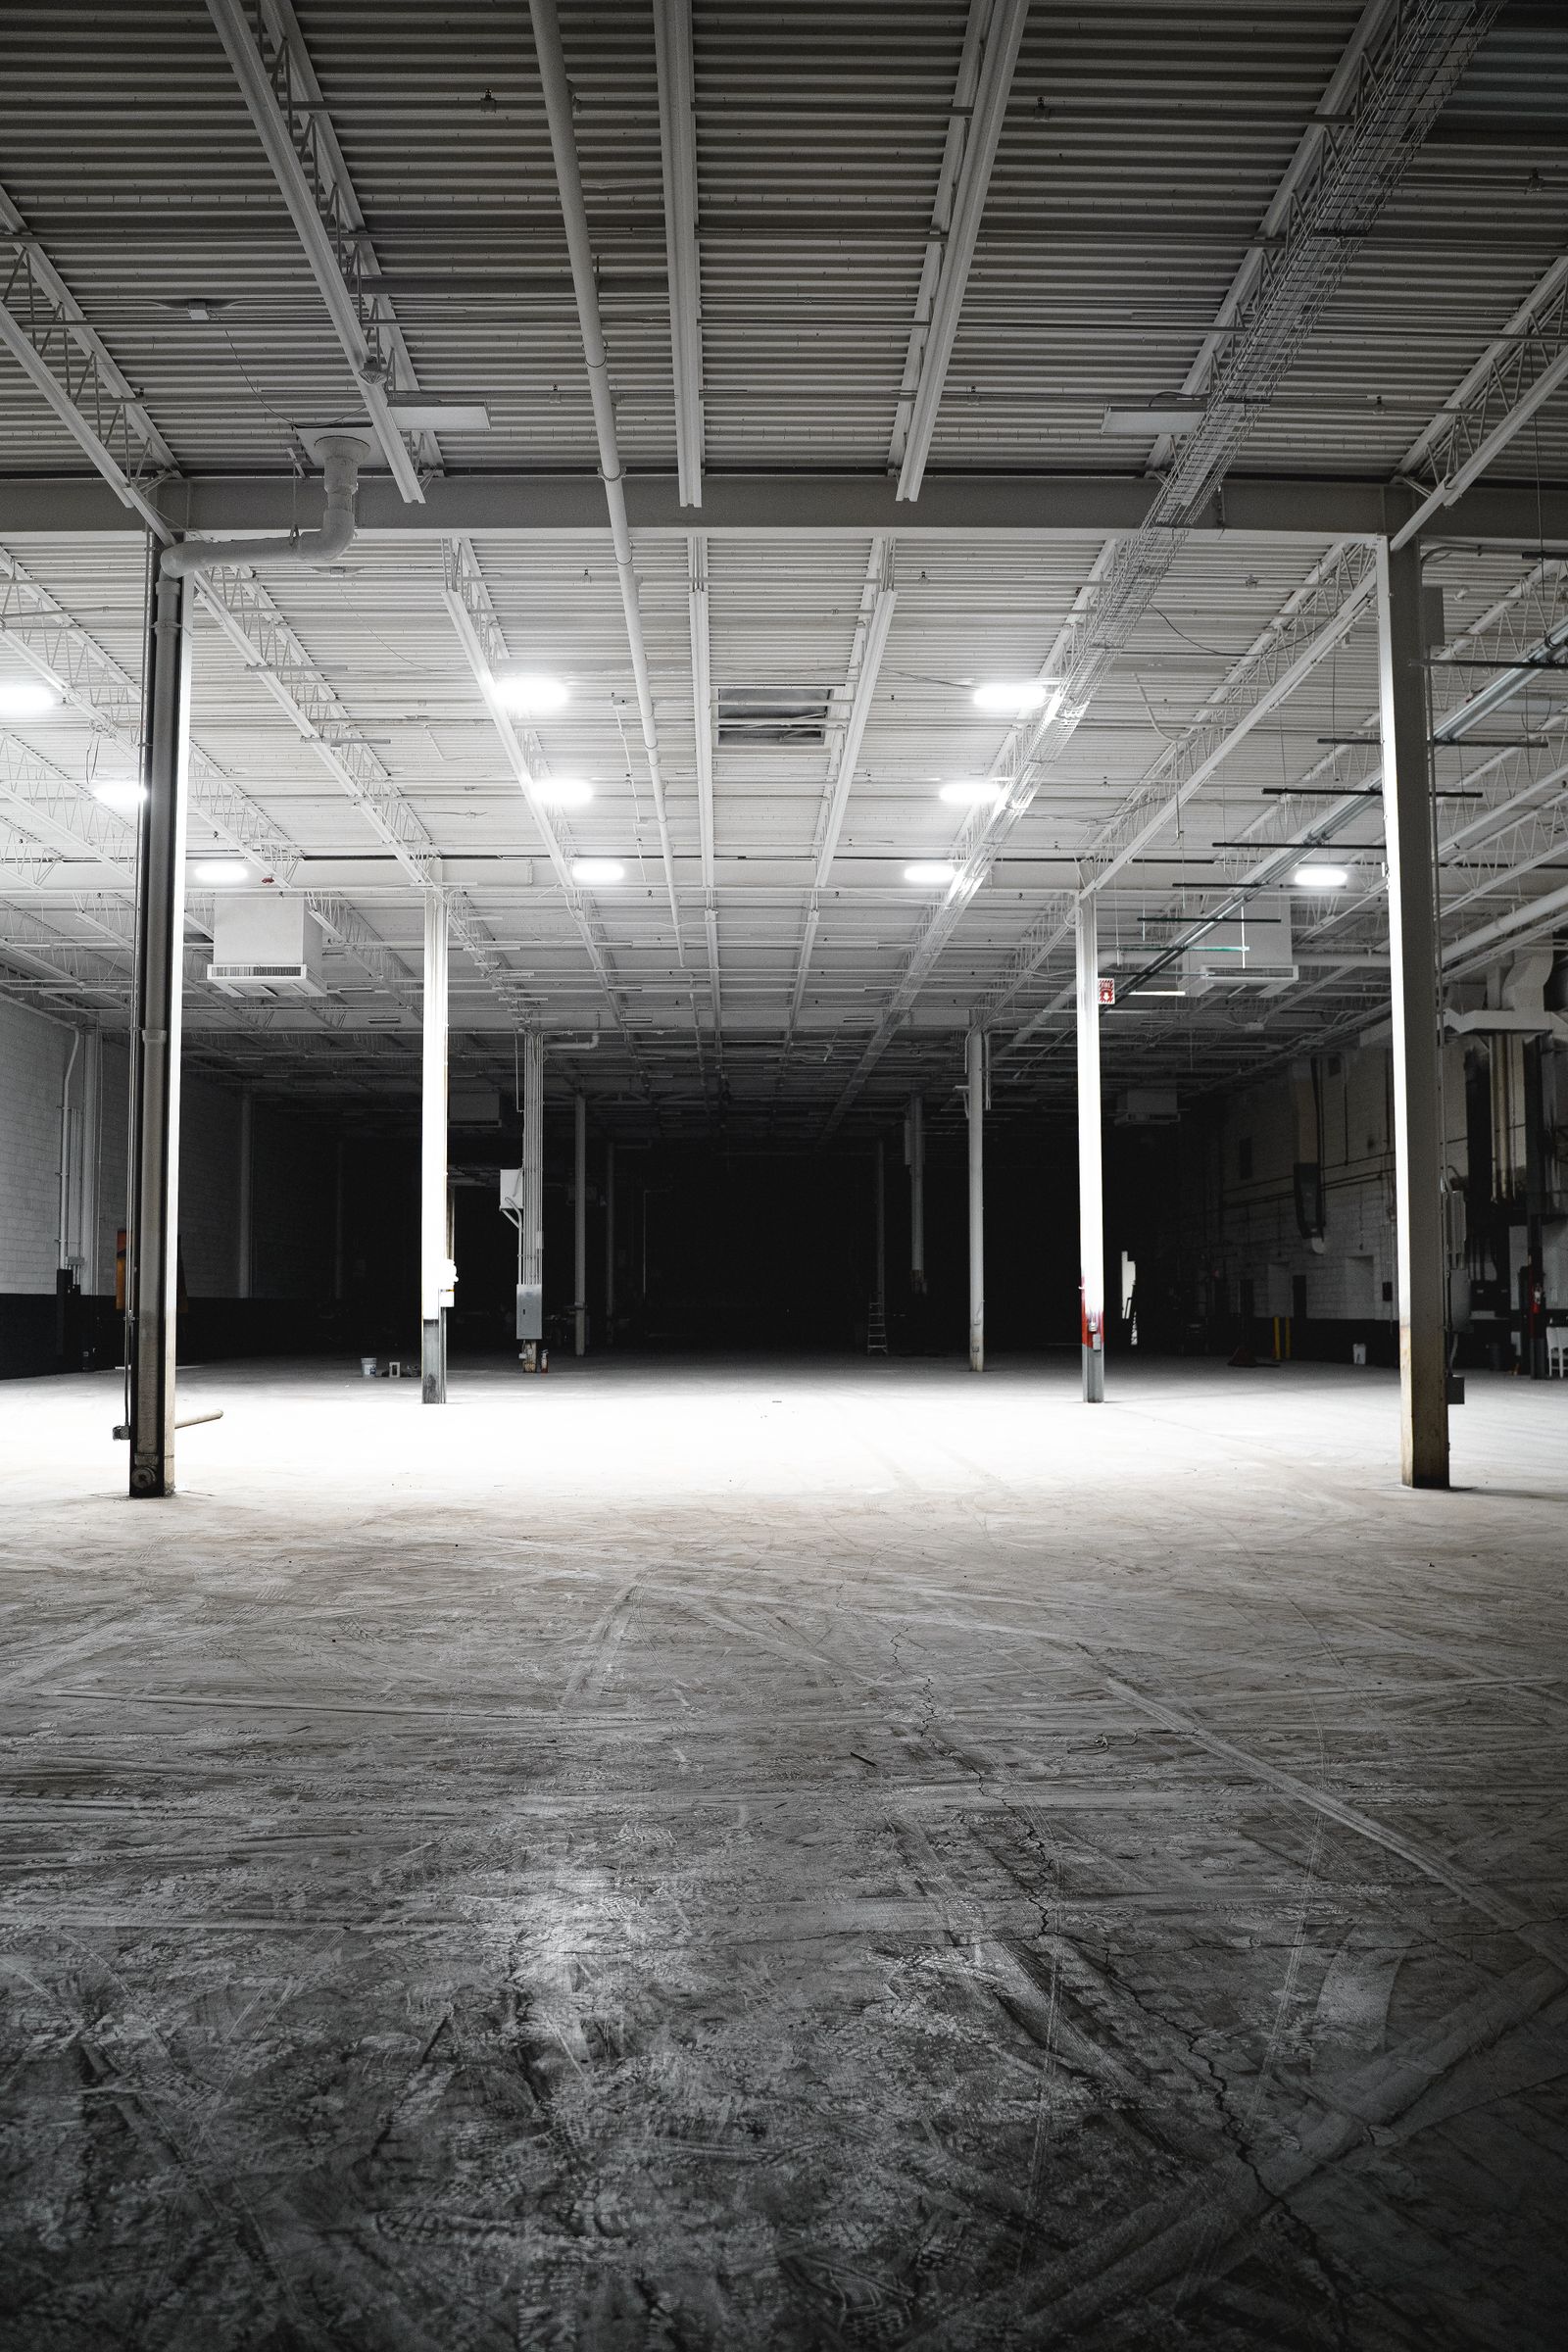
Tenant finish plumbing is the work that turns a bare commercial shell into a space with working restrooms, sinks, break rooms, and equipment hookups. It touches the slab, the walls, the ceiling, and almost every other trade on the job. As a result, it often sets the pace for the whole build-out. This guide walks through the full process in plain terms, so owners, tenants, and builders know what to expect from day one to move-in.
We will cover scope, design, permits, rough-in, top-out, fixtures, and inspections. In addition, we will share the mistakes that cost time and money, and how to avoid them.
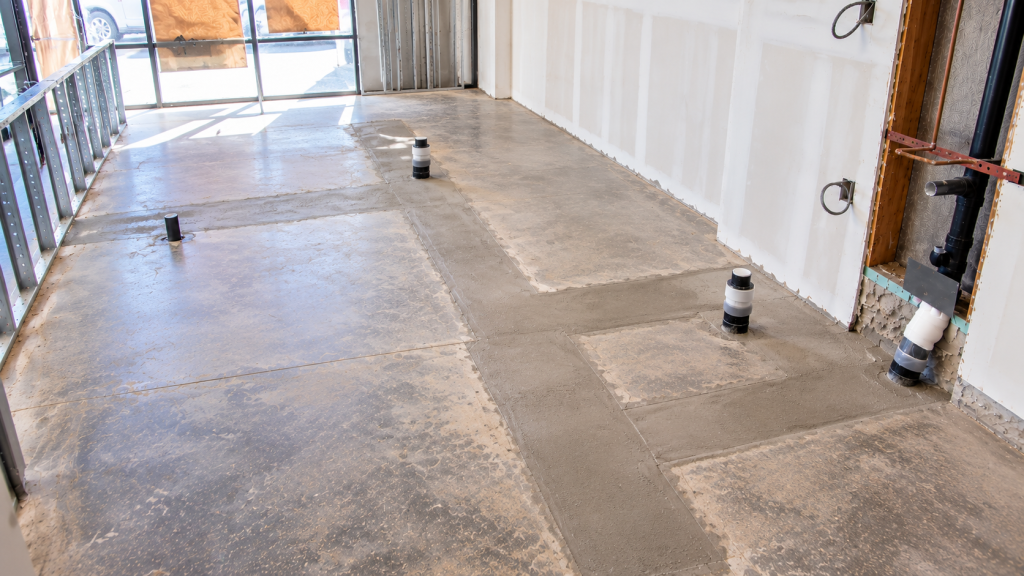
What Tenant Finish Plumbing Includes
“Tenant finish” is another name for a tenant improvement. It covers the interior work a business needs before it can open. The plumbing part of that work usually includes:
- Saw-cutting and trenching the slab for new drains
- Underground waste and vent piping
- Domestic hot and cold water lines
- In-wall rough-in for sinks, toilets, and urinals
- Water heaters and mixing valves
- Fixtures, faucets, and trim
- Floor drains, mop sinks, and hose bibs
- Special systems like grease interceptors or backflow preventers
The exact list depends on the space and the tenant. For example, a small office may need only one restroom and a break room sink. In contrast, a restaurant may need floor sinks, a grease interceptor, gas piping, and a large water heater.
Start With the Existing Conditions
In practice, every tenant finish plumbing job starts with what the landlord delivers. Some shells have a sewer stub, a water line, and a vent stack ready to go. Others have nothing but a bare slab.
So before design starts, walk the space with a plumber. Find the sewer connection and check its depth. Locate the water main and the meter. Look for existing vents and cleanouts. Also, ask for the base building drawings.
Clearly, this survey matters a lot. If the sewer sits too high, gravity drains may not reach the far side of the suite. If the water line is small, it may not feed all the new fixtures. Catching these issues early keeps them on paper instead of in the field.
Designing the Plumbing Layout
Next, the design team lays out the fixtures for the tenant finish plumbing. They decide where restrooms, sinks, and equipment will go. Then the engineer sizes the drains, vents, and water lines.
Good design groups fixtures together. For instance, placing restrooms back to back lets them share a wet wall and a single drain run. As a result, the job needs less trenching and less pipe. Similarly, keeping the break room near the restrooms shortens water lines.
Fixture counts come from the plumbing code. They depend on the occupancy type and the number of people the space can hold. The International Code Council publishes the model code many areas adopt, although some cities use a different code.
Permits for Tenant Finish Plumbing
Almost every tenant finish plumbing scope needs a permit. Typically, the plumbing drawings go in with the building permit set. Reviewers check fixture counts, pipe sizes, venting, and accessibility.
Some items need extra review. For example, grease interceptors may need approval from the local wastewater utility. Backflow preventers may need a water department review. So ask your plumber early which approvals apply.
Underground Rough-In
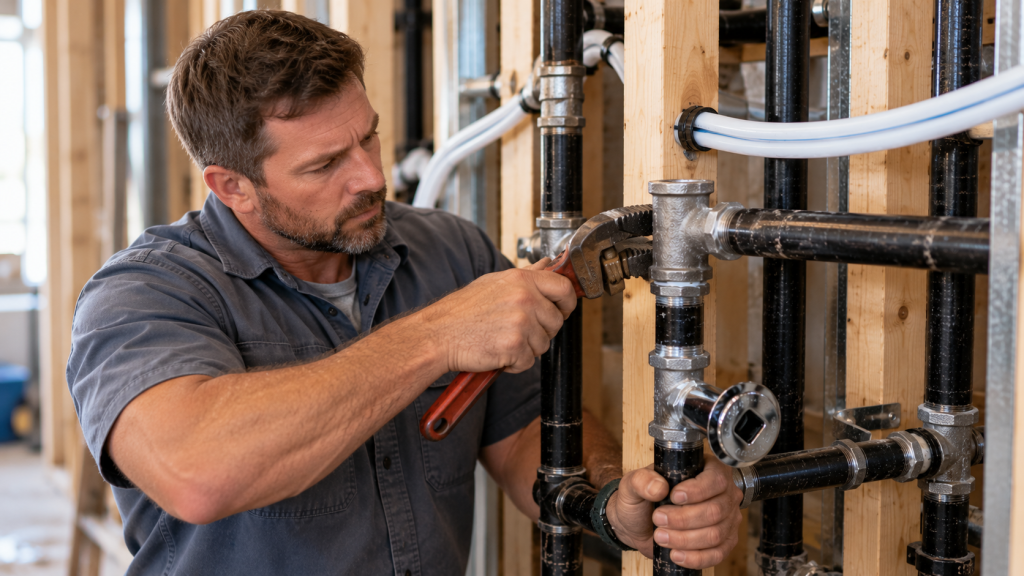
Once the permit issues, the visible work begins. First, crews saw-cut the slab along the planned drain routes. Then they dig trenches deep enough for the pipe and its slope.
Next, they lay the waste and vent piping. Drains must slope toward the sewer, so the plumber sets each pipe to the right grade. After that, the inspector checks the work, usually with a water test that fills the system and watches for leaks.
Finally, crews backfill the trenches and pour new concrete. Only then can framing and other floor work move forward. That is why underground work so often sets the schedule. Our post on why rough-in sets the pace explains this in more detail.
In-Wall Rough-In and Top-Out
After the walls are framed, plumbers run pipe inside them. They install drain arms, vent lines, and water supply lines to each fixture location. They also set carriers for wall-hung toilets and sinks.
This stage is often called top-out. The plumber connects the vents, extends water lines, and caps every outlet. Then the system gets a pressure test. Once it passes inspection, the drywall crew can close the walls.
Again, coordination matters here. Electricians, HVAC crews, and framers all share the same walls and ceilings. So weekly meetings help avoid clashes and rework.
Water Heating and Special Systems
Most commercial spaces need hot water for hand washing. Small offices may use a point-of-use heater under a sink. Larger spaces often use a tank or tankless heater in a closet or mechanical room.
Some uses need special systems. Restaurants need grease interceptors to keep fats out of the sewer. Medical offices may need dedicated sinks in exam rooms. Salons need extra hot water and hair traps. Meanwhile, many buildings require backflow preventers on certain water connections.
Each special system adds design time, lead time, and inspection steps. Plan for them from the start.
Fixtures and Trim
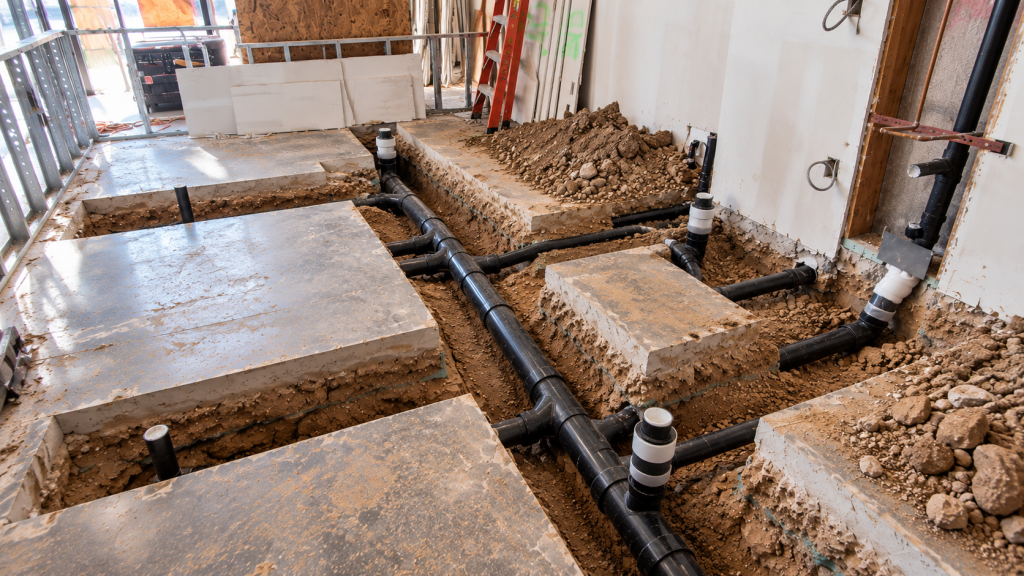
Near the end of the job, plumbers set the fixtures. They hang sinks, set toilets and urinals, install faucets and flush valves, and connect water heaters. Then they test each fixture for leaks and proper flow.
Of course, fixture choices affect cost and lead time. Commercial-grade fixtures last longer under heavy use. Sensor faucets and low-flow fixtures save water. Accessible fixtures must meet height and clearance rules. Order fixtures early, because special finishes can take weeks to arrive.
Final Inspection and Closeout
Once fixtures are in, the plumbing inspector returns for the final. They check that fixtures match the plans, that water heaters have proper relief valves, and that accessibility rules are met. Backflow devices may need a test report from a certified tester.
After the final passes, the plumber hands over warranties, manuals, and as-built drawings. So keep these records. You will need them for repairs and future changes.
Common Tenant Finish Plumbing Mistakes
- Skipping the survey: Surprises at the sewer or water line force redesign.
- Spreading out fixtures: Long drain runs mean more trenching and cost.
- Late fixture orders: Special fixtures can delay the opening.
- Ignoring special approvals: Grease and backflow reviews take time.
- Poor coordination: Clashes in walls and ceilings lead to rework.
How Long Does Tenant Finish Plumbing Take?
Naturally, timing varies with size and use. A small office with one restroom may need only a few weeks of plumbing work spread over the job. On the other hand, a restaurant with heavy underground work can take much longer. Permits and fixture lead times often matter more than field time.
Choosing the Right Plumbing Contractor
Above all, look for a contractor with steady commercial tenant work. Ask for recent projects like yours, proof of license and insurance, and references from general contractors. Also, ask how they handle surprises below the slab.
To see how we approach this work, visit our tenant fit-out plumbing services page.
FAQ on Tenant Finish Plumbing
Who pays for tenant finish plumbing?
Usually the tenant, often with help from a landlord allowance. The lease spells out the split.
Can tenant finish plumbing reuse existing lines?
Sometimes. If the old pipes are sound and in the right place, reuse can save money. A camera inspection helps decide.
Plan Your Build-Out With Confidence
Good plumbing planning keeps your build-out on schedule and on budget. To review your space, layout, or bid package, contact our team today.